Storage and Care for Old Cameras
- EVERYTHING HAS ITS HOME -
When I was younger, my mother would encourage me to clean my room by telling me, “Everything has its home”. It could be a game, a toy, or a rock; every object lived somewhere. I still think this way when organizing and storing my photo gear. While it doesn't seem uncommon for photographers to romanticize their gear, my mother's words might explain why I have such parental fondness for what are, essentially, just image-making tools.
In this article, I’ll talk about my current storage setup, provide some tips for storing cameras, and will review my favorite tool for storing film gear: the Patu Dry Box 9L.
*2021 Update - Sadly, the Patu Dry Box is no longer being sold in the US. An extremely similar box can still be found under two different brands - Eirmai Dry Box & Ruggard Portable Dry Case.
STORAGE
I put away my film cameras whenever there isn't film in them. This not only helps protect them and keep them usable for years; it also prevents me from accidentally opening an already-loaded camera and ruining the film. If the camera is on my desk or a shelf, I know it's loaded. If it's in a dry box, I know it's unloaded and the shutter is uncocked.
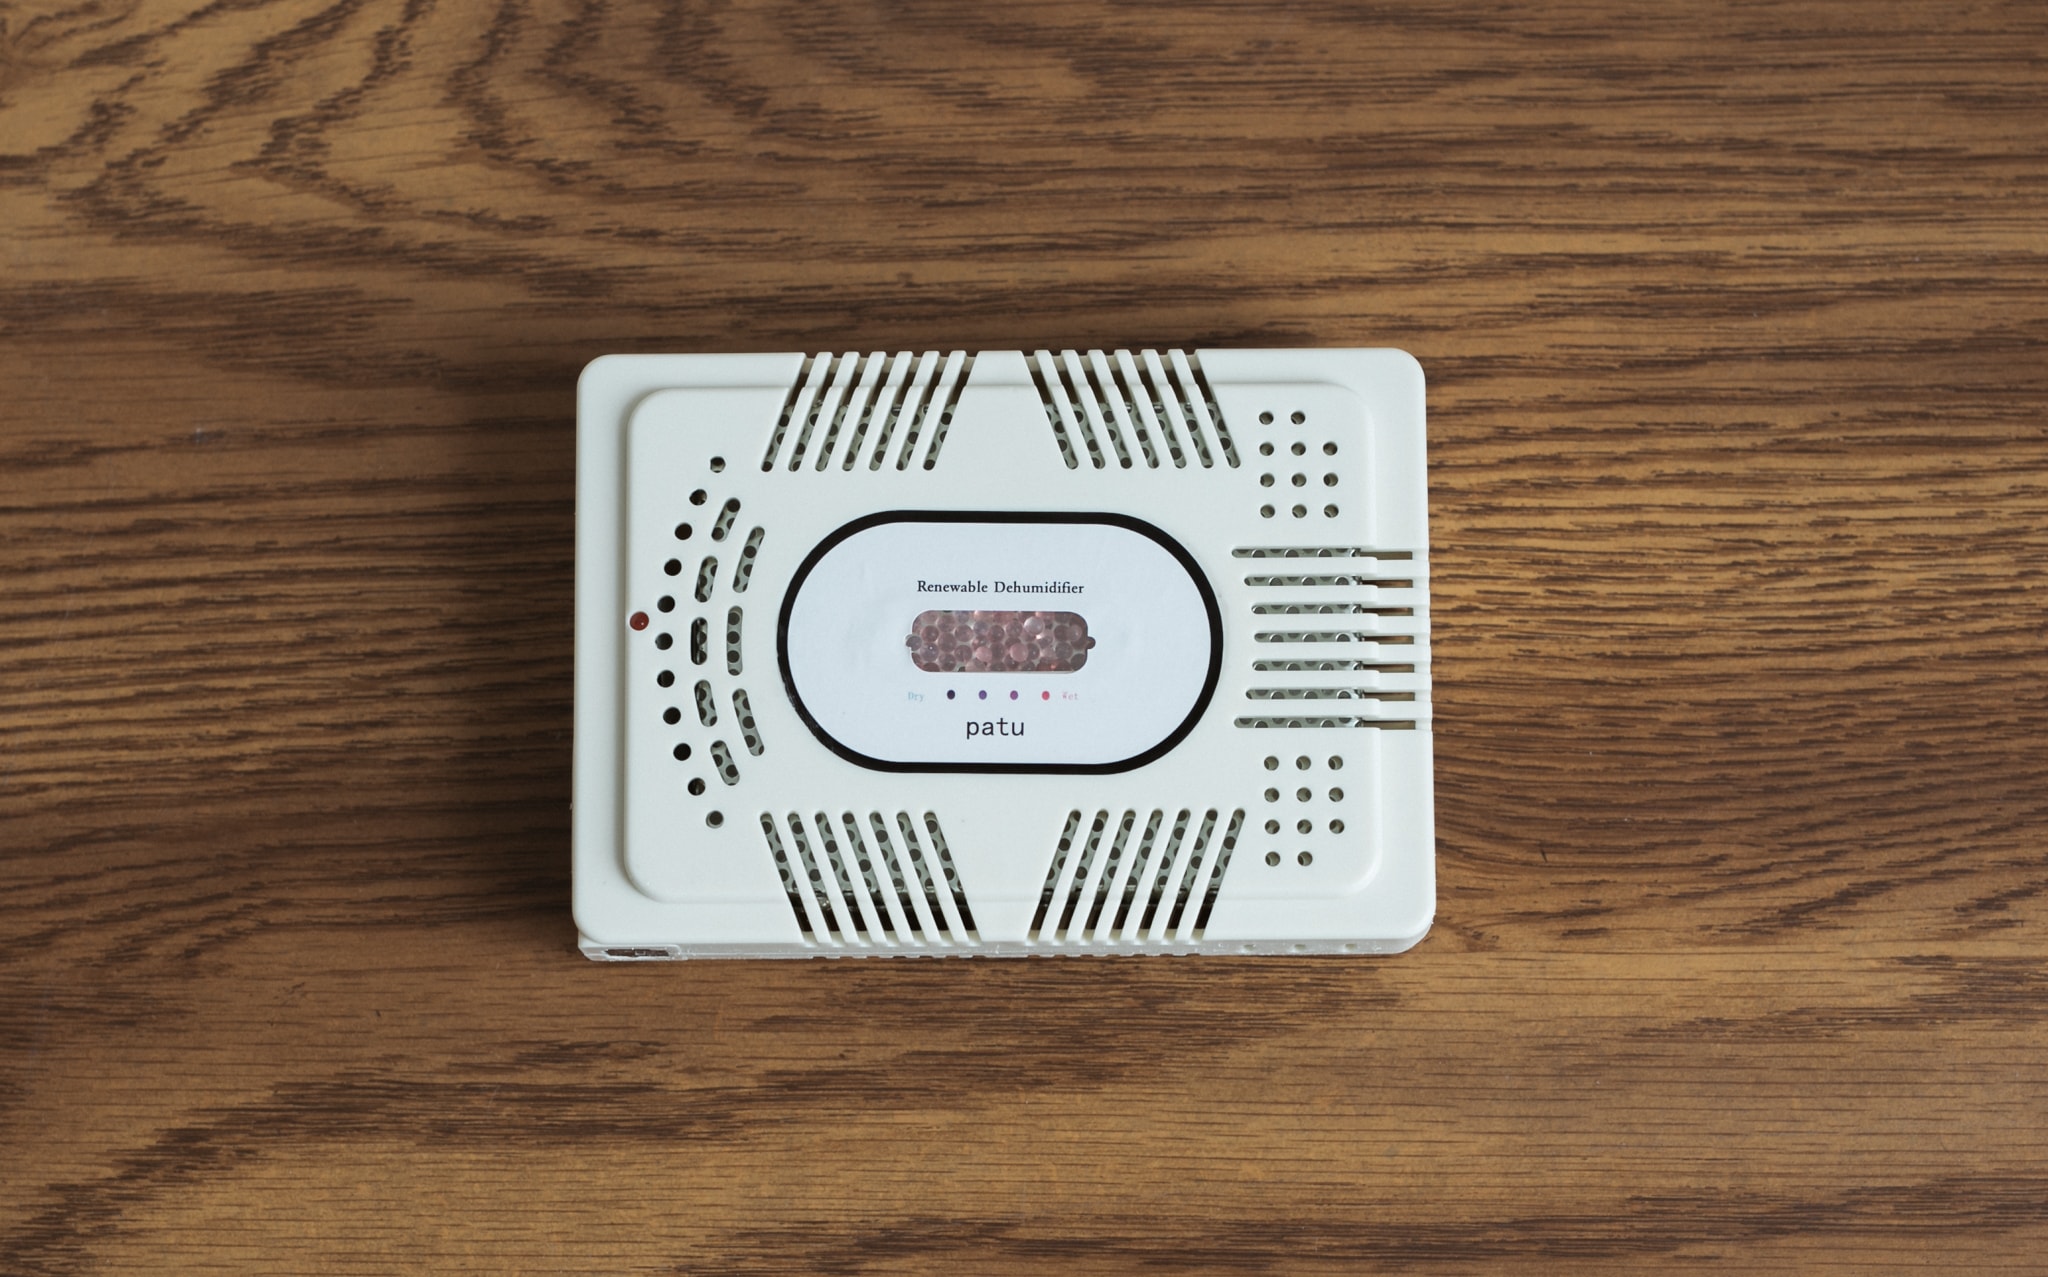
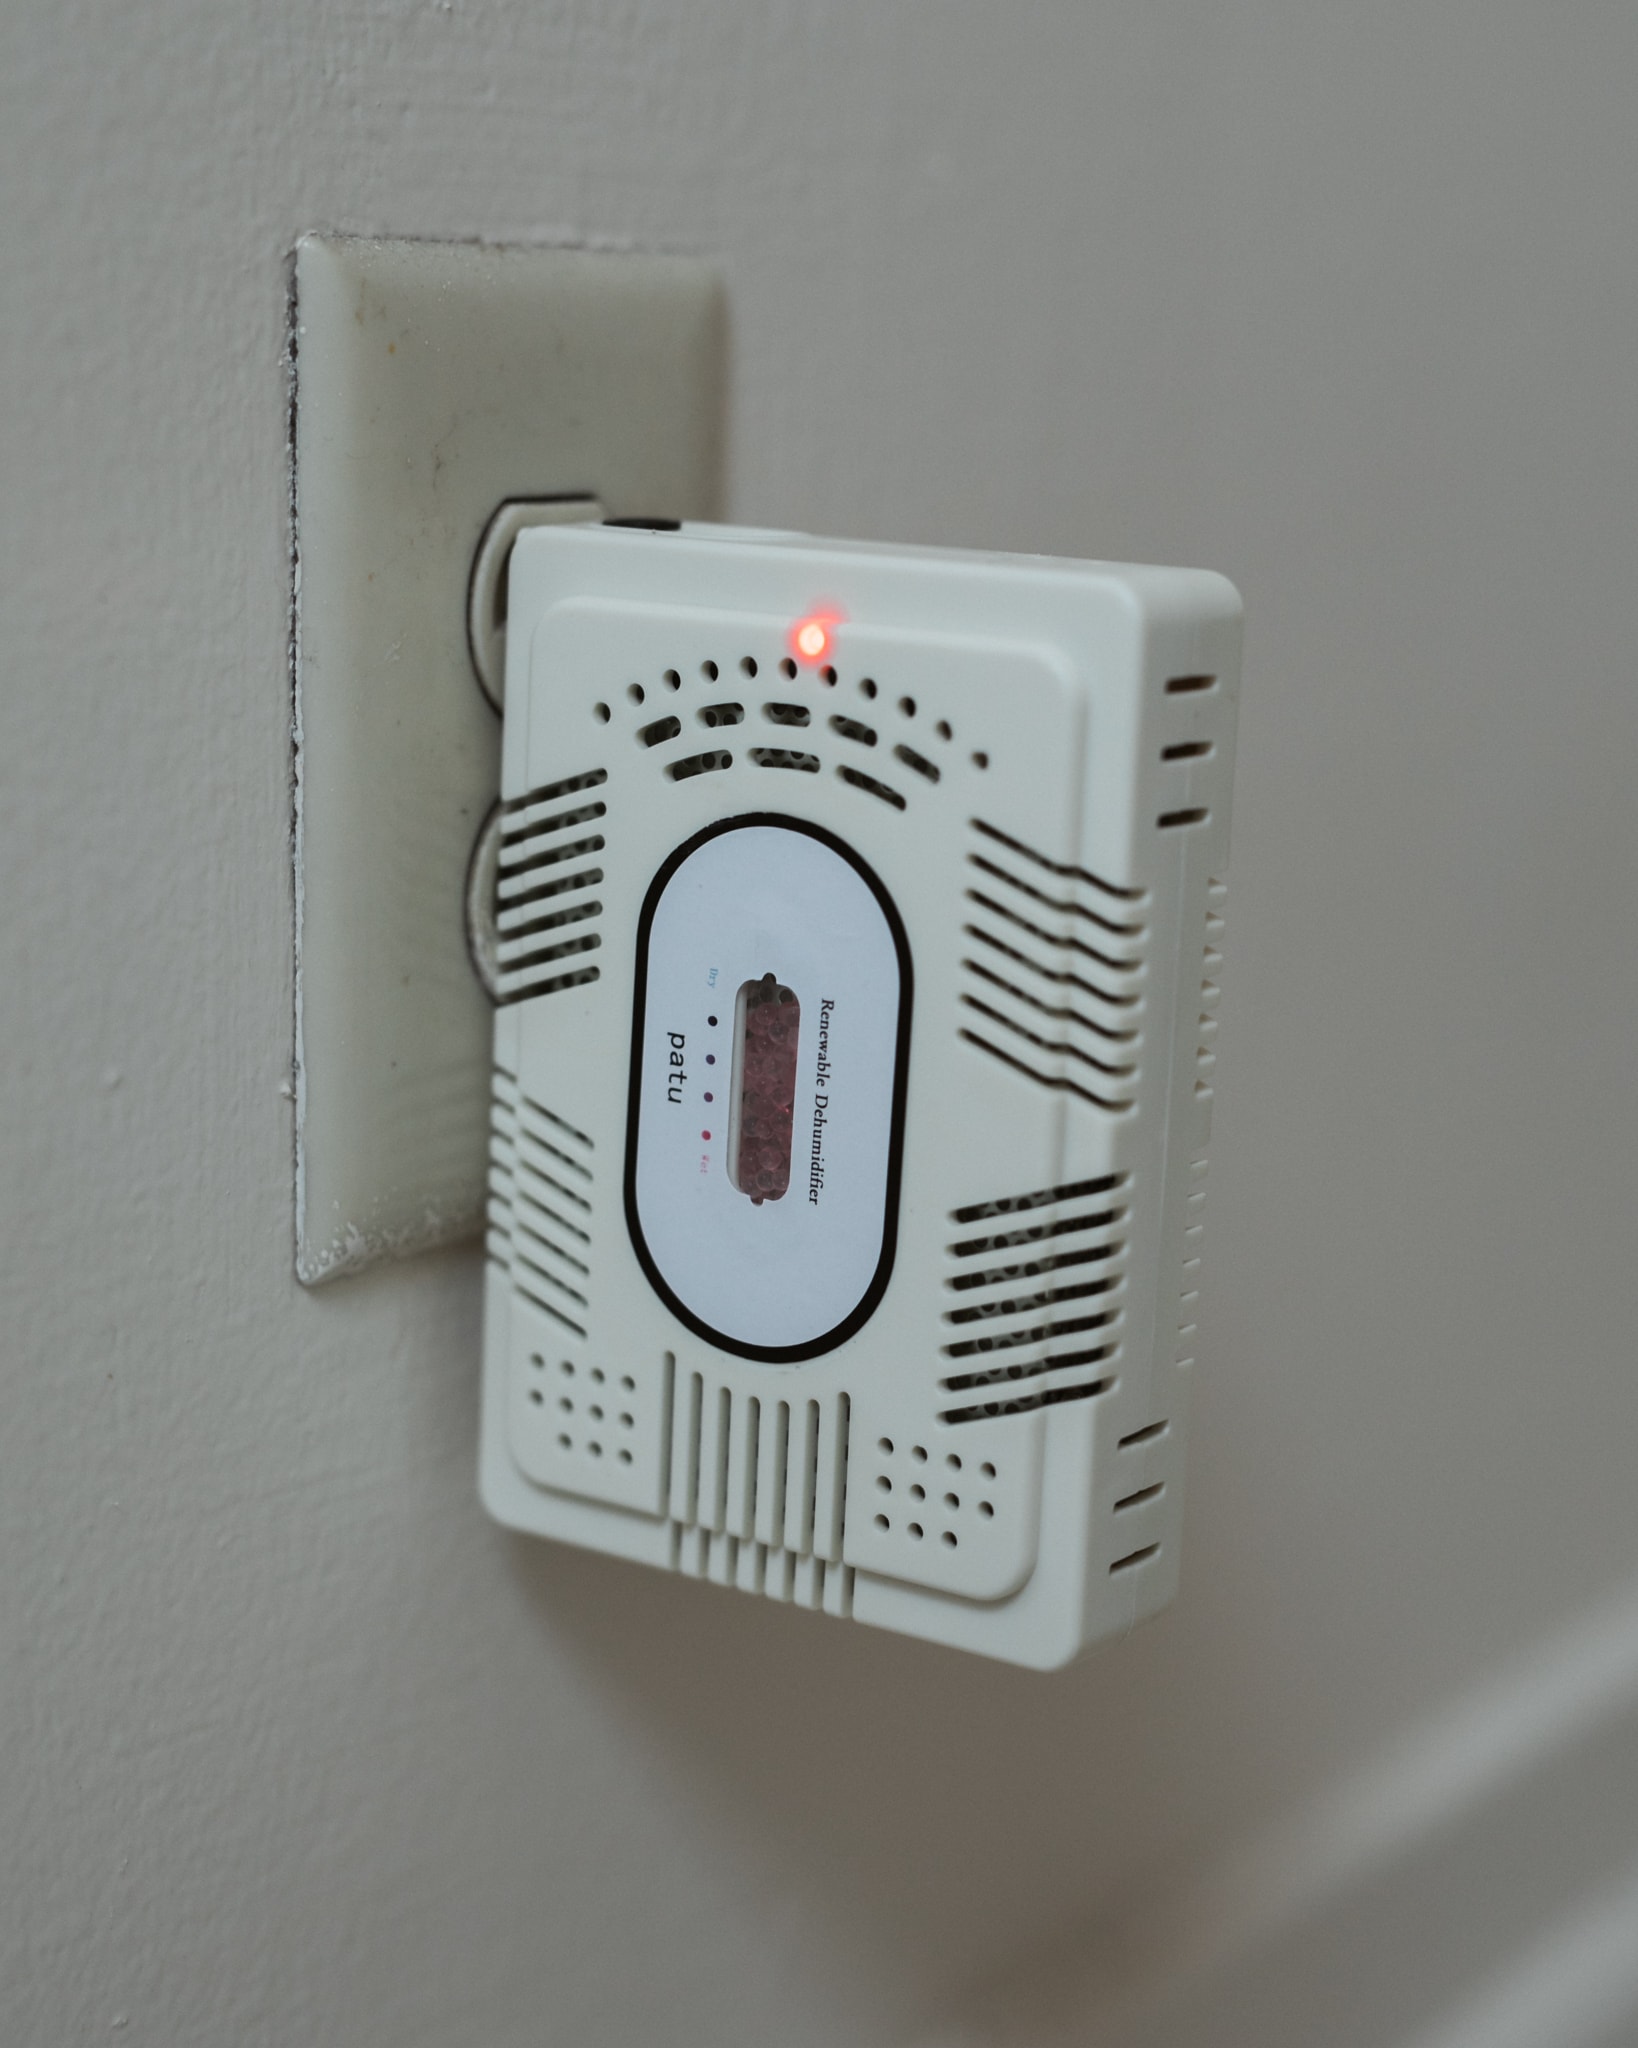
A dry box is, as the name implies, a moisture-proof box. They're used to protect against rust and fungus, but will also protect against most environmental hazards like dust and pests. The Patu Dry Box uses a small rechargable dehumidifier to keep humidity levels low, which is perfect for long-term gear storage.
An ideal dry box covers the basics of preservation. When storing gear you want:
A relatively stable climate (Temperature, humidity).
A low relative humidity, around 35-45%. (Go too low, and you'll dry out any lube your camera uses; too high, and other damage can occur.)
Protection from drops or shock while transporting.
Protection from UV/strong sunlight (To prevent cosmetic fading and damage to leatherette. Some UV can actually be healing--more on that in a later article!).
Specifically with storing cameras, you also want the following:
The shutter uncocked-- leaving the shutter cocked will wear out the spring that controls shutter speed.
Lens stored upright with caps on, to prevent oil from leaking onto the apertures. (I leave my caps in the dry box when using a lens; I don't need them very often in the field).
Batteries removed to prevent corrosion damage.
I use these little boxes for misc. studio items now.
Really, anything could be a dry box. Before investing in the Patu cases ($69/box), I just used Sterilite Boxes ($2/box) and packets of silica gel. There are also large electronic dry boxes that look like a mini-fridge for your gear, but I find those a bit excessive and never tried them. Unlike the airtight Patu, simple plastic boxes have some airflow and can adjust to the environment, making them a fine solution for a home or studio that already has climate control. I live in an apartment from the 1920s and work in a studio that was built even earlier, so I don't quite have that option.
I was drawn to the Patu case because it was the first under $100 that I've found with a hydgrometer (which measures relative humidity). A major advantage it has over the plastic Sterilities is that its inside is padded, which gives the case some shockproofing. Knowing that there's some cushion, I am much more comfortable transporting my Patu boxes than I was the Sterilites. There's even a carrying strap and the padding inside can function as a camera bag when removed.
There is basically no information about the Patu on the web. From what I have gathered, the box and all its included parts are made by a Chinese camera bag brand called Eirmai. It rebranded as "Patu" for the American market, and is sold only on Amazon.
The Patu comes with everything you need for camera storage when it arrives: the dry box, a black padded camera bag, a bag strap, a renewable dehumidifier, and a small case for loose batteries. Two pamphlets are included with the specs and some tips. When first opening the package, you'll also find a little note above those extra items that reads: "Gift for Patu Dry Box". It's a cute touch.
After getting a dry box, the best order for setup is to first plug in the dehumidifier and then seal it in the box until the humidity drops to the desired level. Remove the dehumidifier and store it until it's needed again. If your gear has any batteries, remove and place them in the little case. Seal the camera in the box.
The provided dehumidifier plugs right into the wall to charge. I've been using the Patu for about six months, and I've only had to charge the dehumidifier once. The boxes stay pretty stable, with just a little flux across the seasons, and every time they are opened and closed.
PELICAN VS PATU
The most comparable to the Patu 9L is the Pelican 1300 Protector Case, which is almost the same size and is a similar price. I've evaluated them below.
PATU 9L
$69
Padded shockproof bag
Moisture-tight lid & airtight hygrometer seal
Manual pressure equalization valve
Plastic padlock protectors
Hygrometer
Hard ABS and Polycarbonate materials
Includes strap, dehumdifer, battery case
PELICAN 1300
$51
Shockproof impact foam
Watertight seal
Automatic pressure equalization valve
Steel padlock protectors
N/A
Crushproof & chemical-resistant Polypropylene-copolymer material
Built-in handle
While I do use and trust and use both Pelican and Vanguard style cases for storing lighting and peripherals, I won't use them for storing my film gear. Pelican and the like have the better waterproof and environmental hazard protection, but their design can also trap in moisture and bacteria that can damage sensitive gear. Indestructible cases also use impact foam as a shock-absorber. NEVER use foam for long-term camera storage. I've seen too many cameras damaged by the cases they were stored in, almost always because of foam deterioration. When foam begins to age, it turns into a sticky, flakey mess, which will get inside cameras and their lenses. Flakey foam reeks mechanical havoc and can ruin the exterior of a camera. Deteriorating foam can even release a gas that will fog lens elements, if left unchecked.
Fabric lens wraps and bags have long been the standard for gear storage. Stick with what's tried-and-true.
ANOTHER OPTION - HAKUBA Dry Box 5.5L
The Hakuba Dry Box is another option I tried out for this write-up. It is half the size of the Patu, and half the price, at $35. I bought it from Amazon like the others, but instead of shipping from the US, it shipped from Japan and arrived after 5 weeks of waiting.
The box is part-Sterilite and part-Patu. It has a cute design on the front, and the dark plastic is nice, but this box just doesn't perform as well as the Patu. With the Hakuba, you have to use Silica Gel packets kept inside of a cage in the lid. Recharging the packets is more of a chore. You have to reheat them in an oven rather than simply plugging a device into the wall. You can also expect to recharge much more often because the seals aren't as tight on the Hakuba.
I now use the Hakuba to store loose film before putting it into a black archival binder. The darker color of the plastic does help to keep UV away from the film. Aside from that, there really isn't much difference between the pricier Hakuba and the $2 Sterilite.
Final Thoughts
Ultimately, your need for a dry box depends on your own environment and goals. I know for myself; I need the extra protection for my film cameras. My goal is too keep them working for as long as possible. Some of my cameras were inherited from my grandfather--- he was a pharmacist with a love for photography. I was lucky that he stored them properly and if I do the same, maybe I, too, can someday pass on these historical cameras to another photographer (if film is still around, that is, one can only hope).
LINKS


