
Studio Apparatus Lighting Workshop
Thank you so much for attending my lighting workshop at Studio Apparatus, below you'll find a list of resources that were mentioned during the presentation.

JOEY L's Tutorial
Joey L's offers a ton of resources on his personal site, and this dedicated tutorial website. Prices range from $25-$200 for tutorials, and some content is free. Highly, highly recommended.
Ded Pxl's One Light Video WOrkshop
At only $75, you get over 7 hours of instruction on Zach Arias' lighting philosophy. The big take-away from this tutorial is making the most out of a minimal gear, usually just one light.
This workshop is also great for anyone looking to learn the technical details of lighting, such as inverse square law.


Elinchrom Lighting Guide
A PDF containing 20 simple lighting setups that you can reference. Great for learning the names of various lighting setups.
Sylights Web & iPhone APP
Sylights exists as both an iPhone app and website. It's community driven, so anyone can create, or submit lighting diagrams for free. A great tool if your looking to sketch out a lighting idea, or if you want to browse someone elses. You can even search for specific equipment used in the setup, like softboxes or gels!


David Hobby shot by Thomas Graves
Strobist
David Hobby has been writing educational content about camera lighting FOREVER. He's the true O.G. of off-camera flash and almost every photographer I've learned from, originally learned from reading the Strobist Blog. David Hobby offers some great free tutorials, and the blogs archive is a treasure trove.
Jeremy Cowart's Short Portrait BTS Video
One of my most recent inspirations, Jeremy's newest randomized lighting setup is genius. This short BTS (Behind the Scenes) video offers some glimpses at the setup and the images it helps to create.


Mastin Lab's "How to Shoot in Kelvin" blog post
Super helpful for learning about color temperature, kelvins, and the various color charecteristics of different light sources.
Adam Elmakias' Free Music Photographer DVD
Adam Elmakias is the absolute best music photographer in the game, he's also one heck of a good teacher. His music photography course used to cost $200, but is now available for free on youtube. Adam released it for free awhile back because he's just that cool of a dude. The DVD contains tips on being a photographer in the music industry, post production insight, and has behind the scenes looks at his band promo shoots (in which he uses studio lighting). Adam influenced a lot of my early gear purchases, and he is wizard when it comes to photographic lighting.

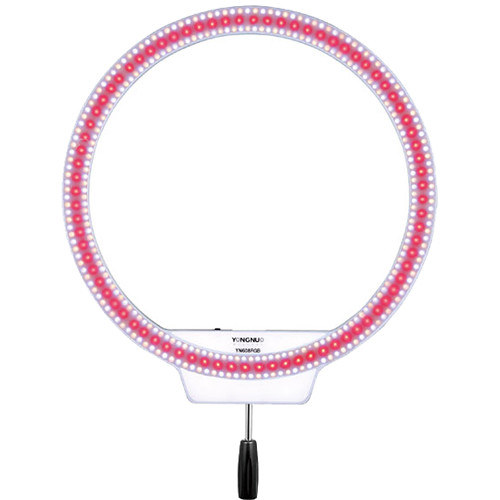
Yongnuo YN608 RGB Bi-Color LED Ring Light
For those curious, this is the ring light I used during the presentation. Mine came with two batteries and a small charger, and I had to order the power supply separately.
Link to Ring Light: https://www.bhphotovideo.com/c/product/1381371-REG/yongnuo_yn608rgb_bi_color_led_wireless.html?sts=pi
Link to Power Supply for Ring Light: https://www.bhphotovideo.com/c/product/1327100-REG/fujia_appliance_ac_adapter_12v5a_ac_adapter_12v_5a.html
The iPhone app used to control the light is called YN608 RGB.
Exclusive mini blog post for attendees of the workshop:
Purchasing your first lighting setup
When looking to purchase your first lighting kit, the number one thing I would recommend is to purchase equipment based on your current, not future income. Lighting and studio gear can get ridiculously expensive, quite quickly, and taking on too much debt can cripple any artists/businesses growth. For that reason, I'll be presenting three different brands of lighting gear, all which operate at different price points.
There are two kinds of studio strobes, Monolights and Generators. Out of these options, you might notice I only recommend monolight strobes. I recommend this kind of light because;
They are incredible versatile
They have friendly user interfaces
There aren't any power ratios to memorize
They are typically a lighter setup
More affordable than similarly powerful LED or continuous lighting setups.
Flashpoint - $

Flashpoint strobes are Adorama's in-house brand. They are ridiculously inexpensive, at time of writing, you can get their intro level 320M strobe for $99. There is also a kit that comes with a battery, and a decent air-cushioned light stand for only $199. This kit is the first studio light I ever purchased, and it lasted me many years before I sold it to another photographer. The only disadvantage to this light, is that it's not very powerful, only putting out 150ws of power. If you have the budget, upgrade to the 1220M 600ws light for only $100 more.
Price Range: $99-$299
Paul C. Buff - $$

A great mid-range studio strobe, Paul C. Buff offers a few different lines of monolights, the Alienbees, White Lightnings, Einsteins, and Digibees.
Alienbees are the most basic monolights, compact, made of plastic, great starter light
White Lightnings are similar to Alienbees, but a bit larger and built with metal
Einsteins are the most versatile and consistent, but have a reputation for being fragile.
Digibees are similar to Alienbees, but with LED modeling lights and an updated interface.
I also highly recommend getting a Paul C. Buff Vagabond Mini battery pack, regardless of what brand you decide to go with. This little battery pack will work with any A/C powered strobe, and can also be used to charge peripherals like your iphone or laptop. It's the perfect battery for on-location work and the batteries last forever.
I currently use a X800, X1600, and X2400 with my studio work.
Price Range: $225-$550
Profoto - $$$

Profoto lights are those most often used on larger, or higher budget productions. They are expensive, but many photographers rave about their color consistency, quality of light, and build quality. A Profoto BX1 kit, which is 500ws and includes a battery and bag, will cost you around $2000. You can also get a Profoto D2, which is 1000ws and AC powered, for a similar price. The advantage of the BX1 is that the battery and trigger are both part of the body of the light, making it the most portable monolight setup available on the market. The D2 has a similar form factor, but plugs in like a traditional monolight.
Price Range: $2000+

Don't forget the essentials!
Additionally, you'll need to purchase a light stand, modifier, and for your safety, a sandbag.
I love Paul C. Buffs 13' heavy duty light stands, they recently upgraded them to include air-cushioning, which is a feature that prevents your light from crashing down on you when you loosen the stand to lower it. The light also raises up to 13', which is likely higher than you'll ever need (in the event that you do need to go higher, get a super boom).
Price: $99

For jobs where I need a lighter setup and not as much height, I use a Flashpoint FPLS8N Nano Light Stand, which is 7' light stand that folds up to an incredibly compact 22.5 inches. The stand can't take as much weight as a heavy duty stand, so I only use LED lights or small camera flashes on this one. Manfrotto also makes a compact stand that is more durable/stable, but at double the price.
Price: $29

Sandbags, get them, use them. Prevent bad things from happening to your clients or your lights. You can get traditional black saddle sandbags, high visibility sandbags (my favorite), or boa weight bags. Some photo stores, such as West Photo in Minneapolis, will sell you sandbags that are already filled and sealed.
Price: Safety is Priceless
Modifiers
The modifier you decide to purchase will ultimately depend on the brand of light you own. Most brands have their own speedring mounting system, meaning the modifier is unique to that brand. There are exceptions to this rule, but a profoto strobe only uses profoto mount modifiers, a bowens only uses bowens mounts, and so on.
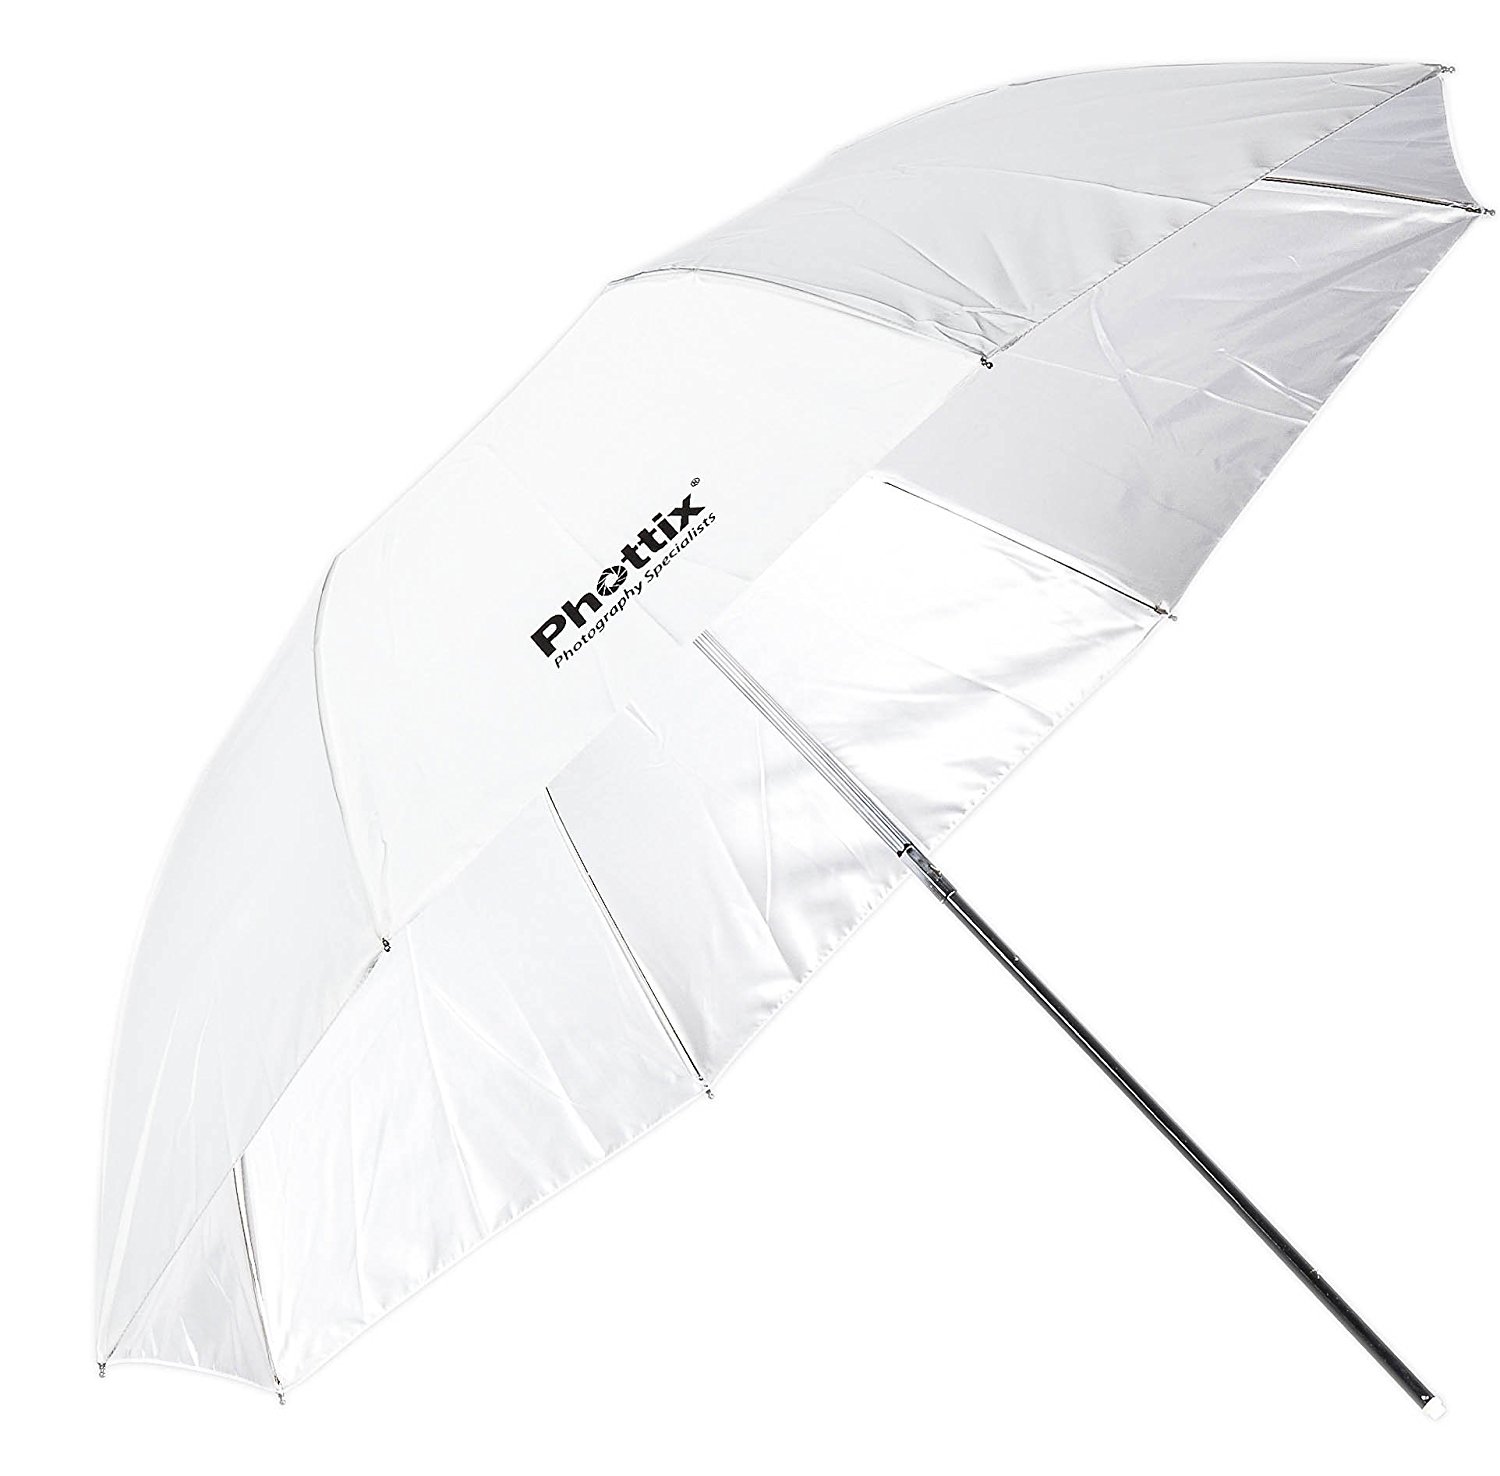
One modifier that is universal to all lights, is an umbrella. So long as the light you're using has an umbrella mount, which most common brands do, or you add an umbrella swivel to your stand. This makes an umbrella an excellent first modifier.
For compact setups, I recommend getting a Phottix Double-Folding Umbrella, which folds down to 15 inches when packed away.
For studio setups, I recommend getting a Parabolic Light Modifier (PLM™) by Paul C Buff. The 86" PLM is huge, and one of the biggest studio umbrellas on the market. They're also a fraction of the cost of other Parabolic modifiers available.

So Many Choices!
Lastly, while I wish I could write about every single modifier available, there are simply too many choices available. So instead, here's a general list of every modifier I've ever heard of for your reference. Do research on how these different kinds of modifiers affect your light, and remember to experiment with them. By doing so, you'll eventually find which modifiers speak to you and your vision.
•Softbox
•Strip Box
•Octobox
•Umbrella (Shoot Through & Silver)
•Grids / Egg Crates
•Reflector Dish
•Lanterns
•Barn Doors
•Fresnels
•Light Control Foil
•Bounce Card
•Scrims
•Pop-Up Reflectors
•Snoot
•Parabolic / Deep
•V-Flats / Walls
•Gels
•Bare Bulb*
•Ring Light**
*Technically a lack of a modifier
**Both a modifier and light

Jeremy Cowart's impressive studio setup, containing many of the aforementioned modifiers.